Change your perspective:
Photography is an art in itself and becoming a photographer requires learning and experience. However, taking a good picture requires some tips and tricks apart from a good camera. Nate Torres, the founder of Imaginated, believes that if you are into photography and think buying a DSLR is a hassle, money-wise as well as carrying it around, the iPhone is your answer. It is a cost-effective replacement for a camera with results if you know how to use it.
Firstly, it is comparatively easier to do nature photography compared to human photography. In daylight, you don’t have to make too many adjustments to your settings because the sun is already helping as a filter. However, if your subject is not nature, you must have to alter your ways to please the subject. It is very common for a person to pose in a particular way saying “This is my good side” or “Don’t take a picture from up close, I look fat”. But a perfect picture captures the essence of the moment alongside catering to your personal needs. Learn when to use the Portrait mode and the photographing mode. The portrait mode focuses on the subject only and blurs the background whereas the other mode captures the entire scene.
An iPhone is highly appreciated compared to androids for its night exposure. One must always avoid exposure because editing can increase brightness, but a photo completely washed out by light is also a waste. Similarly, using soft light is equally important. Find places where direct light is diffused and make sure the subject is placed opposite to where light is coming from, otherwise the picture will be dark. Using HDR on auto settings will take care of this for you. Use night mode for pictures at night and compare them to androids and see how an iPhone captures the depth.
Horizontal vs Vertical:
One of the biggest photography mistakes is mistaking landscape and portrait. For a lot of people in a frame, or capturing more of a picturesque scene, one must use the landscape mode. This is wide-angled and gives more room to compose visual elements horizontally, compared to a portrait mode which is usually used for an individual subject. Balancing the symmetry in the frame is also the key to good photography.
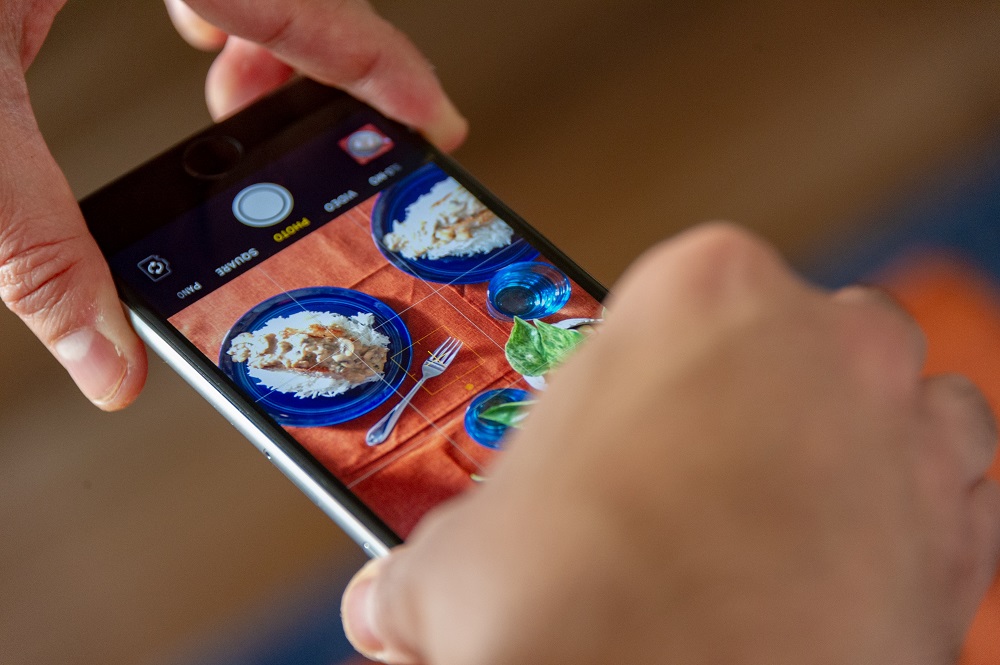
Usually, in wedding photography, the photographer must capture a shot where the subject is placed right in the middle of the frame. If there are pillars, make sure both are equally in the frame. The sky and the ground should not be unequally present in a photo. For this purpose, go to your camera settings and turn on the ‘grid’ feature.
The squares will determine the frame and correct the symmetry. Moreover, aesthetics matter a lot. You cannot call a photo great if the subject and lighting are up to the mark but the background is unpleasant. Do not bring extra billboards, dumpsters, or unwanted people when capturing a photo outdoors, and add cute relatable props in the frame if you’re doing food photography or any spot indoors.
If there is no one to take a picture of you, use a tripod. Set a timer on your phone so get a few seconds to pose before it clicks. You don’t always need someone to take pictures of you, you can do it yourself. Another amazing feature on iPhones is slo-mo and timelapse. When you select the slo-mo mode on your phone and make a video, after the first 2 seconds, it will capture the details in slow-motion, giving it a dramatic effect. This is usually used to capture water waves or girls do cat-walks in this mode.
The timelapse allows you to capture a long video and minimize it in fast forward, almost the opposite of slo-mo, however, the trick is to keep your phone steady. Ideally, use a tripod to capture the sunset by leaving the camera on in timelapse mode. On bus/train/plane rides, place the phone in the window and capture the journey in just a few hours. Attach background music for a perfect experience.
Edit and upload:
The most convenient feature of the iPhone camera is its filters. You can permanently change the setting from original to vivid, warm, black&white, etc, and also if you forgot to do it and already took a shot, you can click “Edit” and adjust the colors. The “auto” feature allows the phone to adjust the color, exposure, and brightness by itself, whereas otherwise, you can adjust it according to how you want it to be. Each of the modes has in-depth settings as well which you may use and check before you capture.
Lastly, now that you have your favorite shot, know what to do with it. If you are sending it to someone, do not WhatsApp them as it will reduce quality. For an iPhone to iPhone transfer, use airdrop. If there are too many or large files, upload them on a drive. Also, know what size is right for social media. An Instagram post requires a square picture whereas a story requires a 1080px by 1920px or 9:16. Upload original files only else pictures will be pixelated.


